Kettle spout, handle weld and the pour that decides the return rate
A kettle is judged at the spout and at the handle root. Both are welded joints, and both are specified badly in most orders.
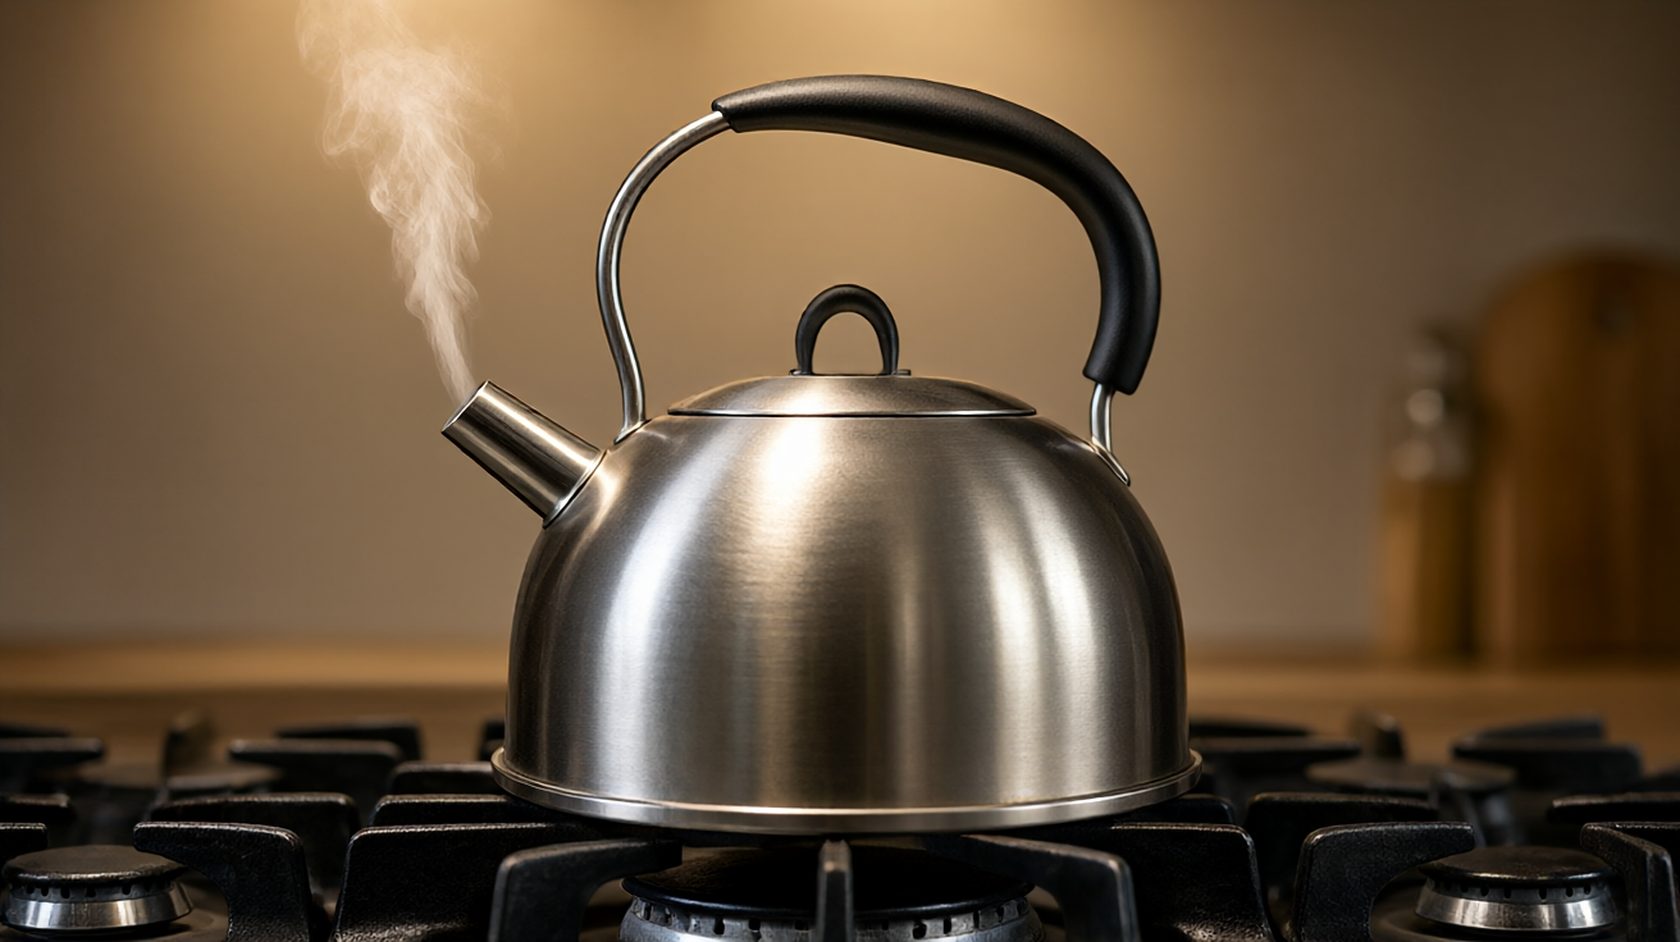
Why the spout is the hardest joint on the kettle
The spout is a small closed section welded onto a curved wall, and it has to do three things at once: pass water without turbulence, hold its shape when the kettle is tipped, and stay leak-free through a thermal cycle. It is the joint with the least material and the most consequence.
Most spout defects are not weld defects but forming defects. A spout drawn from a tube with an oval section will weld cleanly and pour badly, because the lip is not level and the stream splits. The buyer sees a dribble and the supplier sees a passing weld test.
The pour is therefore a specification item, and it should be written as one: a stream that leaves the lip without a second stream, at a stated tip angle, at full capacity, at a stated flow. A kettle that passes a leak test and fails a pour test is a kettle that will be returned.
The check is cheap: fill to capacity with water at sixty degrees, tip at the angle the handle suggests, and watch the lip for ten seconds. A second stream at the underside of the lip is an edge that was not rolled, not a weld that leaked.
Spout geometry: lip radius, wall thickness and the cut angle
The lip is usually rolled or swaged to give a radius of about 1 mm, and that radius is what stops the stream from clinging to the outside wall. A lip cut square and left sharp will pour, and will also run down the spout the moment the flow drops.
Wall thickness at the lip should stay above 0.4 mm after forming. A spout drawn too far thins the lip, and a thin lip deforms under the first hot wash, which changes the pour angle and produces a complaint about a kettle that used to pour well.
The cut angle is usually fifteen to thirty degrees off square, set so the low side of the lip is the side the stream leaves. A cut angle that faces the wrong way will pour against the body, and no amount of polishing fixes a geometry error.
All three figures belong on the drawing together. Quoting a lip radius without the wall thickness at the lip is quoting half a joint, because the radius can be produced by thinning the wall, which is the failure the radius was meant to prevent.
Handle root: spot weld, braze and the load path
The handle root carries the full weight of a full kettle at a lever arm of a hundred millimetres, so the local stress at the weld is several times the nominal stress in the wall. On a 0.6 mm wall a filled kettle puts the root weld into a range where a cold weld will start a crack.
The two common methods are resistance spot welding of a formed bracket and brazing of a lug. Spot welding is faster and leaves a heat-tint mark that has to be pickled; brazing is stronger at the root and needs a flux residue removed before packing.
A spot weld schedule that passes on a fresh electrode will under-weld after two thousand shots, which is the drift that appears mid-lot rather than at first article. The incoming check that catches it is a peel or a chisel test on a coupon from the same schedule, not a visual on the finished kettle.
The brazed lug fails at the root if the joint is starved of filler, and the failure looks like a clean crack with a bright fracture face. A section through the lug showing a filler layer of at least 0.15 mm at the root is the evidence that the joint is a joint.
The tip test and the angle that reveals the balance
A kettle's balance is set by the handle position relative to the centre of mass at full capacity, and the tip test is how that balance is checked. A kettle that needs a wrist correction at ninety degrees has a handle set too far back, and the customer reads it as heavy rather than as badly balanced.
The test is to fill, lift by the handle only, and tip to the pour angle with a straight wrist. The kettle should reach the pour without the wrist rotating, and the stream should start before the spout is full. Both are geometry, and both are decided at design.
Balance can be adjusted by moving the handle or by moving the spout, and moving the spout also changes the pour angle. A supplier who fixes a balance complaint by moving the handle has changed the lever arm and therefore the root load, so the weld schedule has to be re-qualified.
This is the reason a balance change is a drawing revision rather than a line adjustment. The two are coupled, and treating them separately produces a kettle that pours well and cracks at the root in year two.
Whistle mechanism: the parts that are not stainless
A whistling kettle adds a mechanism that is usually not stainless: a silicone or nitrile diaphragm, a brass or aluminium reed, and sometimes a small plastic cap. These are the parts that fail first, and they are the parts least often specified.
The diaphragm is a heat-ageing part. A nitrile disc at a hundred degrees in steam loses elasticity faster than the datasheet suggests, and the failure is a whistle that stops whistling or a cap that will not seal. A silicone disc costs more and lasts through the warranty.
The reed has to be tuned to the cavity, and a reed that is merely copied from another model will whistle at a different pitch or not at all. The tuning is a dimensional relationship, so a change in spout volume requires a reed change, which is the revision most often missed.
The material declaration for these parts belongs with the food-contact declaration, because steam condensate returns to the kettle. A silicone diaphragm with a food-contact statement is a different purchase from a nitrile disc with a heat resistance statement.
Thermal shock at the spout seam
A kettle is filled cold, boiled, and sometimes rinsed cold, which is a thermal shock at the spout seam every time. The seam sees the largest gradient of any joint on the body, because the spout is thin and the body is thick.
A seam that is sound but under-filled will pass a room-temperature leak test and open at the third thermal cycle, which is why a leak test at ambient is only half a test. The full test is a boil, a cold rinse, and a leak check, repeated ten times.
The crack begins at the toe of the weld on the body side, where the section change concentrates strain. A dye penetrant after the cycles will show it as a line along the toe before it becomes a leak, which gives a rejectable defect rather than a customer complaint.
Ten cycles is enough to catch a badly under-filled seam and not enough to catch a marginal one. For a new tool the useful number is fifty, run once on the qualification sample, with a penetrant check every ten.
Interior finish and the hidden weld
The inside of the spout is usually not polished, and it does not need to be, but the weld on the inside is the surface the water actually leaves through. A weld with a coarse spatter on the inside holds a small volume and, more importantly, holds detergent in a dishwasher.
Detergent held at a rough weld is the start of a pitting cell, and pitting at a spout seam is a hole rather than a stain. The requirement is not a polished interior but a smooth weld: no spatter, no undercut, no exposed inclusion at the water path.
Passivation has to reach the interior, which means the spout has to be flooded rather than dipped. A spout that is only dipped at the outside will passivate the visible seam and leave the water path active, and the first sign is a rust streak inside the kettle.
The check is visual with a borescope on the qualification sample, and a water boil with a rust streak check on every lot. Both are cheap, and neither is in most specifications.
Capacity marking and the honest litre
Kettles are sold by nominal capacity and marked at a level that is rarely the brim. The gap between the marked litre and the brim is headspace, and headspace is what keeps a boiling kettle from lifting its lid.
A marked capacity that sits too close to the brim will boil over on a hard roll, and the customer will blame the whistle rather than the marking. A marked capacity too far below the brim is a kettle that looks bigger than it is and pours less than expected.
The usual rule is to mark at about eighty-five per cent of brim capacity, and to state both numbers on the carton. The two figures together are what a retail buyer needs, because the nominal is a marketing number and the brim is a handling number.
For an OEM order the marking is a drawing item, because it moves with the lid height and the spout entry level. A capacity change without a marking change is a claim that no longer matches the product.
Packing, drop and the dent that arrives
A kettle is a thin-walled vessel with a handle that acts as a lever, and a drop onto a corner concentrates load at the handle root and at the base cap. The drop test is therefore a test of the packing as much as of the product.
The usual sequence is one drop on the base corner, one on the side, one on the lid, from the height the carton will actually see. A kettle that dents at the base and stays leak-free has passed; one that dents and leaks at the cap has failed, and the two are different fixes.
Carton design decides most of this. A kettle sitting in a moulded insert with the handle unsupported will rotate on impact, and the handle root takes the load. A carton with a handle recess and a base cradle converts the drop into a compression, which the same kettle survives.
The record worth keeping is the drop height, the orientation and the result, on the actual carton. A drop test on a bare kettle tells you about the kettle, not about the shipment.
A spout-and-handle specification in ten lines
Ten lines carry the joint: lip radius, wall thickness at the lip, cut angle, spout section ovality, seam filler depth, handle root method with its coupon test, thermal cycle count, interior weld smoothness, capacity marking against brim, and drop height with orientation.
Each line names something measurable at the dock: a radius gauge, a micrometer, a protractor, a section, a chisel, a boil-and-rinse rig, a borescope, a graduated fill, a drop rig. None of them requires a lab, and together they cover the defects that produce returns.
The lines that are usually missing are the thermal cycle and the interior weld, and those are precisely the two that produce a leak after the retailer has sold the kettle. A specification that covers the visible joint and not the water path is a specification of the outside.
Write the ten lines, keep one qualification kettle per tool, and re-qualify when the spout volume, the handle position or the weld schedule changes. Those three changes are the ones that move the numbers the ten lines are measuring.
A kettle that states its spout volume and its handle position is the spiral-base kettle, and a change in either of those moves the pour angle and the root load together.
- 01Pour test at full capacity with water at sixty degrees; one stream, no underside run.
- 02Lip radius about 1 mm, rolled not cut; wall thickness at the lip above 0.4 mm.
- 03Cut angle set so the low side of the lip faces the stream.
- 04Spout section ovality within tolerance; ovality is a forming defect, not a weld defect.
- 05Handle root coupon peel or chisel test from the production schedule, not first article.
- 06Brazed lug section shows at least 0.15 mm filler at the root.
- 07Ten boil-and-cold-rinse cycles with a dye penetrant check at the spout toe.
- 08Interior weld smooth, passivated by flooding, no rust streak after a boil.