Tall cups: the wall gets thin where the draw ends, and that is where the rim fails
A tall cup is one deep draw away from a wall that is uneven by half. The rim, the base and the capacity all report the same process.
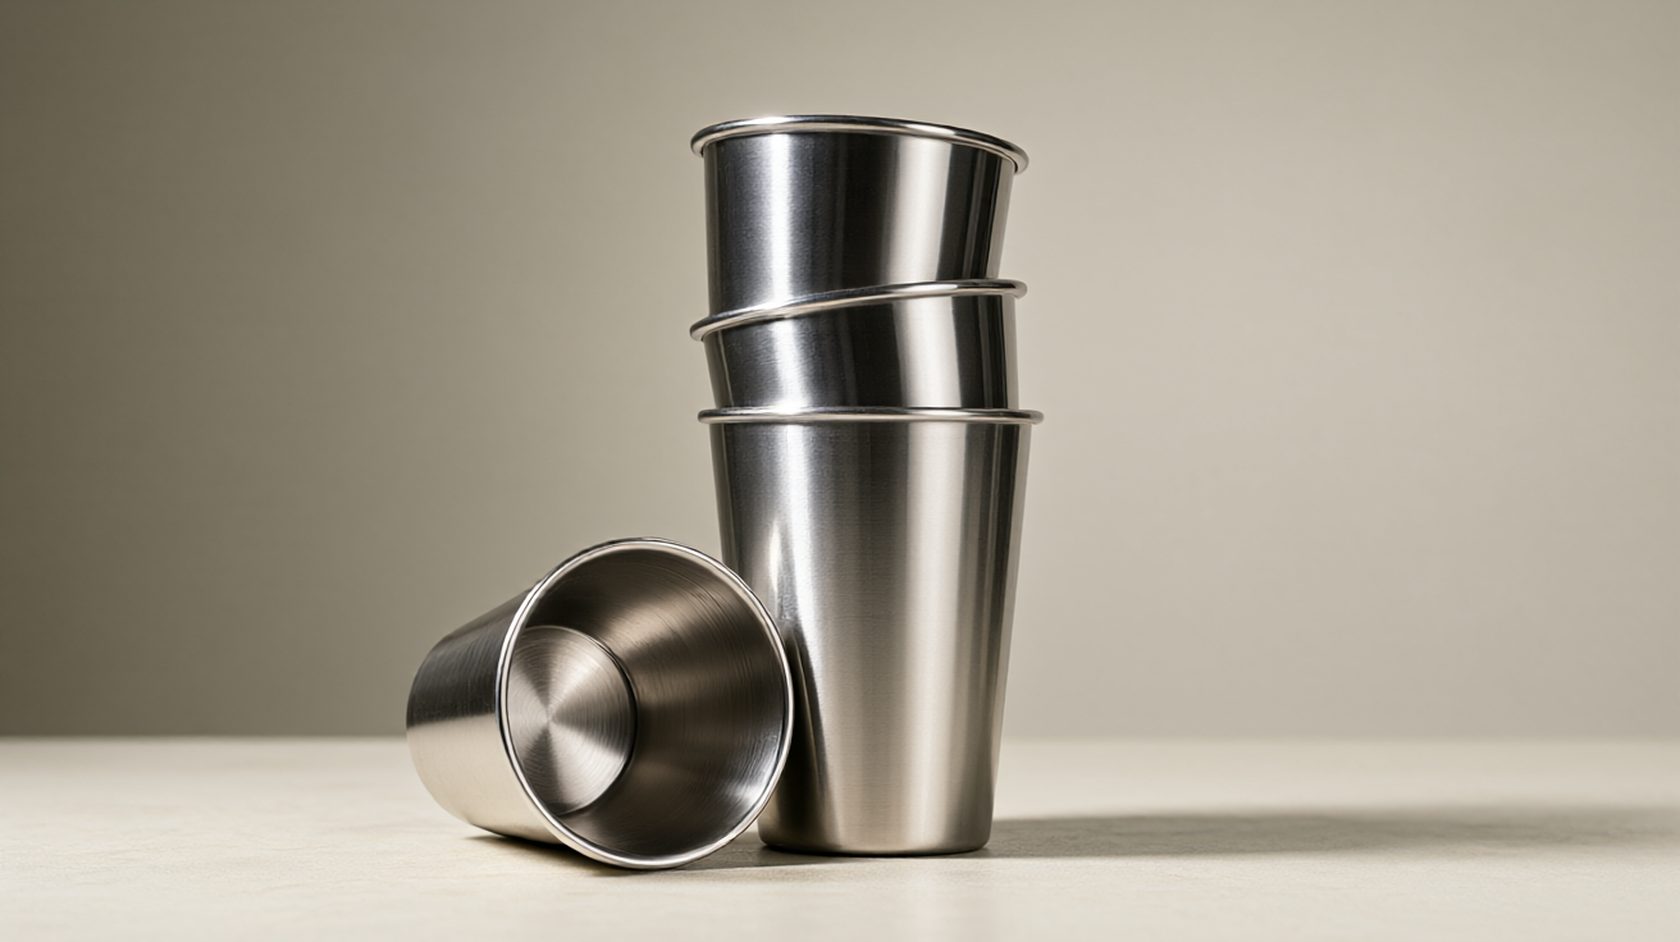
What deep drawing does to a wall
A cup taller than it is wide is made by drawing a flat blank through a series of dies, and every pass thins the wall by a predictable amount. The thinning is not uniform: it is largest where the material has travelled furthest, which is the upper third of the wall just below the rim.
This is why a tall cup measures thinner at the top than at the bottom by a factor that can reach two to one, and why the rim is the first place a dent or a crack appears. The base keeps its original gauge almost intact because it never moved through the die.
A purchase order that specifies one wall thickness for the whole cup is therefore specifying something no deep draw produces. The honest specification gives a thickness at the base, a thickness at mid-height and a minimum at the rim, with the drawing tolerances attached.
The measurement is a ball micrometer or an ultrasonic gauge at four heights on two opposed walls. A cup that reads 0.55 mm at the base and 0.31 mm just under the rim has been drawn properly and is still a cup whose rim will deform.
The rim roll and the curl that holds the shape
The rim is usually rolled over a wire or curled on itself, and the curl is what gives a thin edge the stiffness to survive a dishwasher and a stack. An uncurled rim on a 0.3 mm wall is a sharp edge that deforms under a thumb.
A curl that is too tight cracks the outer surface at the fold, and the crack is a stress-raiser that opens after a few thermal cycles. A curl that is too loose leaves a gap that holds water and detergent, and the gap becomes a rust line.
The figure to specify is the curl diameter against the wall thickness at the rim, plus a visual criterion: no crack at the fold, no gap that a 0.05 mm feeler can enter. Both are checkable on the line with a pin gauge and a feeler.
The rim also sets the drinking experience, because the lip radius is what the mouth meets. A radius under 0.8 mm reads as sharp on a steel cup, and a radius over 2 mm reads as thick and blunt. The radius is a design decision that has to survive the curl process.
Taper, nesting and the stack that leans
Tall cups are usually tapered so they nest, and the taper angle is a compromise between stability and stack height. A shallow taper gives a tall stack that grips well; a steep taper gives a short stack that wobbles.
The taper is set on the drawing as a diameter at the rim and a diameter at the base, and the difference divided by the height gives the angle. A cup whose rim diameter varies by half a millimetre between cavities will nest on one side only and lean in the stack.
Lean in a retail stack is a shelf problem and a damage problem, because a leaning cup loads its rim against the cup below and the rim is the thinnest section. The result is a rim that dents in the carton rather than in the kitchen.
The check is to stack ten cups and measure the offset of the top cup against a plumb line. A few millimetres over a ten-cup stack is normal; a visible lean is a cavity-to-cavity diameter spread that the tool has to fix.
Base flatness and the ring that keeps it still
A tall cup has a small base and a high centre of gravity, so its stability depends on the base being flat and on a defined contact ring. Most cups are made with a recessed base and a contact ring rather than a fully flat bottom.
The recess is there for two reasons: it lets the cup sit without rocking on a slightly uneven surface, and it gives the draw a place to gather material. A base that is fully flat and slightly dished will rock, and a rocking cup spills.
The contact ring diameter should be at least sixty per cent of the base diameter for stability at full capacity. A narrow ring under a tall cup is a cup that tips when a spoon rests against the rim.
Flatness on the ring is measured the same way as on a pan: a straight edge across the base, a feeler at the centre. A gap at the centre is the recess working; a gap at the edge is a dished ring and a rocking cup.
Polished, brushed or mirror: what the finish hides
The interior finish on a drinking vessel is a hygiene surface, and its roughness is what a bacterial retention test measures rather than what a photograph shows. A mirror polish at Ra 0.1 is smoother than a brushed interior at Ra 0.8, and it is also more expensive per unit.
A brushed interior looks deliberate and holds a film of coffee oil in the direction of the brush. That film is not a health hazard after washing but it is a flavour carrier, and it is the reason some markets ask for a polished interior on anything that holds milk.
Exterior finish is a different question: a mirror exterior shows every fingerprint and a brushed exterior hides scratches. For an export order the useful specification is the interior roughness plus the exterior treatment, because the two are chosen for different reasons.
Heat tint from the rim weld or from the anneal has to be removed before the interior is judged. A tinted band inside a cup is a depleted chromium layer, and a cup that shows rust at the rim after a wash cycle has a passivation problem rather than a polishing problem.
Capacity: nominal, brim and the line you can trust
A cup marked 350 ml is rarely 350 ml to the brim, and the difference is deliberate headspace. The nominal figure is the usable volume, the brim figure is the physical volume, and the two should both be on the drawing.
The usable volume depends on where the manufacturer draws the line, which is usually twenty millimetres below the rim for a tall cup. A cup that is marked at the brim pours over on the first fill and the customer measures the nominal against a jug.
Volume tolerance should be stated as a percentage of nominal rather than in millilitres, because the same absolute error is trivial on a large cup and significant on a small one. Two per cent on a 350 ml cup is 7 ml, which is inside a normal fill line.
The check is a gravimetric fill at twenty degrees: weigh the empty cup, fill to the mark with water, weigh again. The difference in grams is the volume in millilitres, and it is the only measurement that does not depend on how the operator reads a meniscus.
Dent resistance and the drop that finds the thin wall
A tall cup with a 0.3 mm upper wall dents at the rim from a fall of half a metre onto tile, and the dent does not spring back because the material has yielded. The dent is the visible result of the thickness gradient the draw created.
Dent resistance is improved by thickness, by a curl at the rim, and by a slightly oval section that resists local buckling. Of the three, only the curl is free at the design stage; the others cost material or tooling.
The drop test for a cup is normally from the height of a table, onto tile, on the side and on the rim, three samples each. A cup that dents but does not split has passed a durability test and failed a cosmetic one, and the two criteria should be written separately.
The criterion worth writing for export retail is no split and no dent deeper than two millimetres at the rim. A deeper dent is a cup the customer will reject at the shelf, even though it still holds water.
Stacking marks and the interior that scratches
Cups stacked in a warehouse rub against each other at the rim and at the base ring, and the rubbing produces a fine scratch pattern that shows after polishing. A cup with a mirror interior and a scratched exterior is a cup that was handled in bulk without a liner.
The marks are cosmetic but they are also a corrosion site if they cut through the passive layer. A deep scratch across a polished exterior will collect detergent and show a rust line within a season, particularly near the base ring where water sits.
The fix is packing rather than polishing: a tissue interleaf or a moulded tray that keeps the rims apart. Polishing a scratched cup removes the mark and thins the wall, which trades a cosmetic defect for a structural one.
Incoming inspection should therefore look at the packing as well as the cup. A carton with no interleaf and cups showing rim scratches is a supplier whose handling cost is being paid by the finish.
The wall gauge band that belongs on the drawing
The specification that prevents most tall-cup complaints is a wall gauge band at three heights: base, mid and rim. Written as minimum and maximum at each height, it converts a vague quality expectation into three micrometer readings.
A typical band for a 0.6 mm blank is 0.55 to 0.62 at the base, 0.40 to 0.50 at mid, and 0.30 to 0.38 under the rim. A cup outside the rim band is either too thin to survive or too thick to have been drawn, and both indicate a process that has drifted.
The band also tells the tool room what to change. A rim reading at the low end across all cavities is a draw ratio problem; a single cavity reading low is a die clearance problem on that station.
Once the band is on the drawing, the receiving inspection is three measurements per sample instead of an opinion, and a rejected lot can be argued with numbers. That is the whole purpose of putting a gauge on a drawing.
Rim, base, capacity, finish: four lines that decide the cup
Four lines decide whether a tall cup survives: the minimum wall at the rim, the curl diameter with its crack criterion, the contact ring diameter, and the usable capacity with its tolerance. Everything else is decoration or packing.
The four are coupled. A thinner rim needs a larger curl to keep stiffness; a larger curl needs a smaller usable capacity to keep headspace; a smaller capacity changes the balance and therefore the contact ring. Changing one line revises the other three.
This is why a tall cup is a poor candidate for a quick re-quote. The cup that arrives from a new tool with the same external dimensions will have a different wall gradient, and the four lines will read differently even though the drawing looks the same.
Specify the four, measure the four, and keep one reference cup per cavity for comparison. The reference cup is the fastest way to see a drift that no single measurement would flag.
The cup whose rim gauge band is specified rather than described is the tall stainless cup, and that band is the only number that survives a deep draw.
- 01Wall gauge measured at base, mid and just under the rim, on two opposed walls.
- 02Rim curl diameter specified against rim wall thickness; no crack at the fold.
- 03Feeler check at the curl: no gap a 0.05 mm feeler can enter.
- 04Contact ring diameter at least sixty per cent of base diameter.
- 05Usable capacity marked below the brim, both figures on the drawing.
- 06Volume checked gravimetrically at twenty degrees, tolerance as a percentage.
- 07Interior roughness stated as Ra, not described as polished.
- 08Drop test from table height onto tile, side and rim, dent limit two millimetres.